This teaches you how to create a commercial invoice in Microsoft Excel on Windows and Mac computers. You can create invoices manually or choose an invoice template.
A. Using Templates on Windows

1. Open Microsoft Excel.
It’s a green icon with a white “X” on it. The Microsoft Excel home page will open.
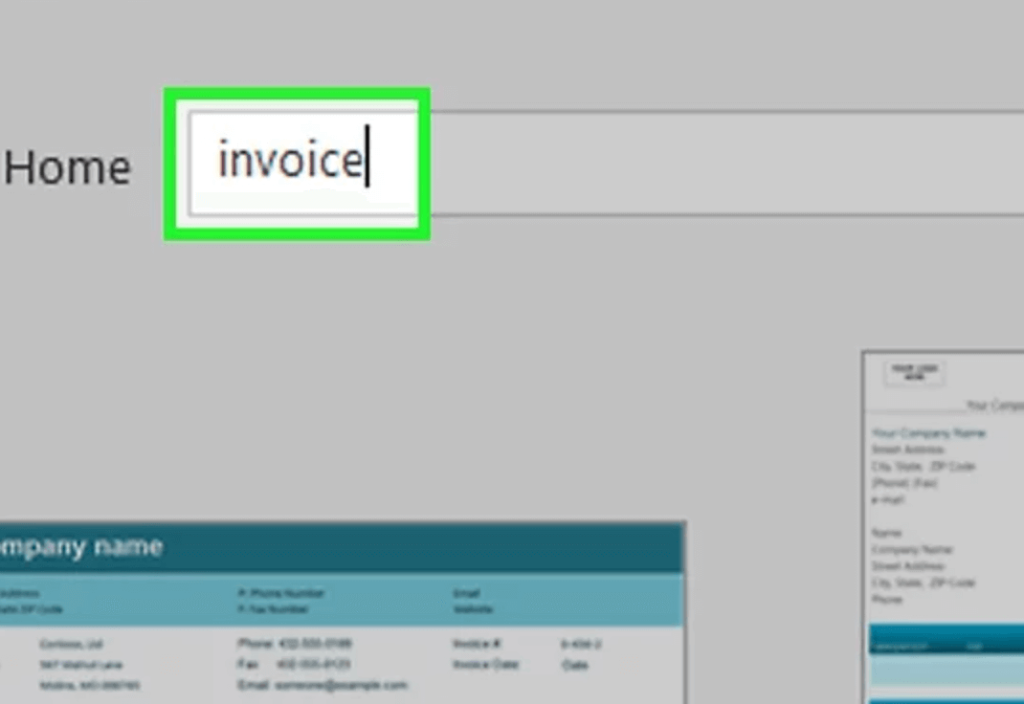
2. Search for invoice templates.
Type invoices into the search bar at the top of the page and press Enter to search for invoice templates. You must be connected to the Internet to search templates.

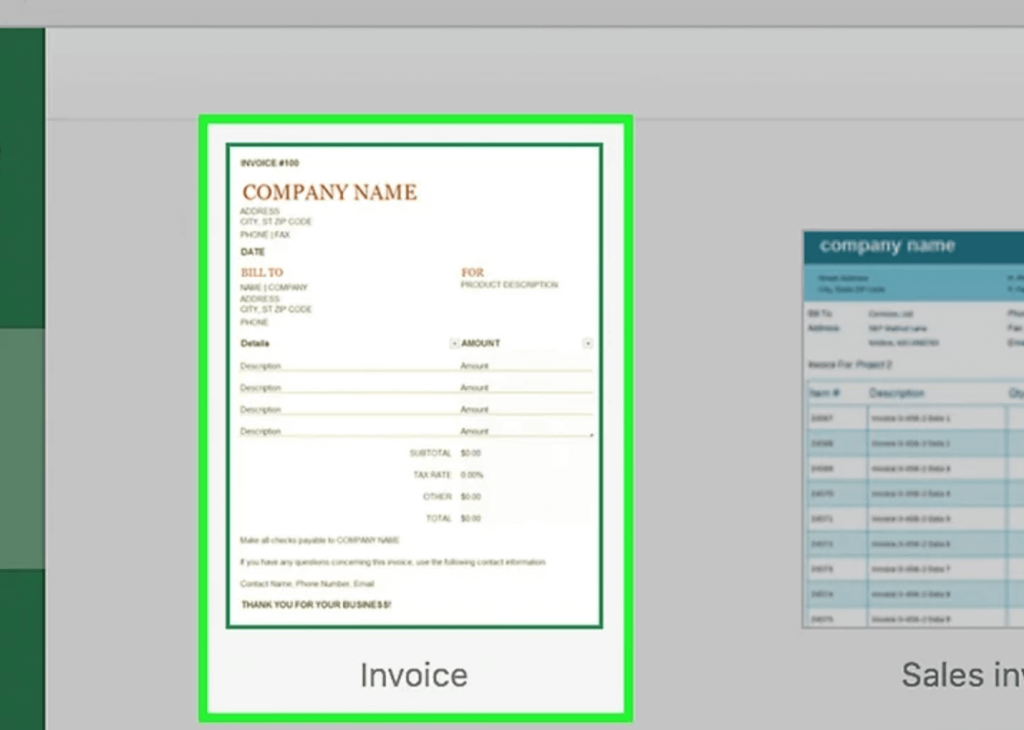
3. Select a template.
Click on the template to open it in the window.

4. Click Create.
This button is to the right of the template preview. This will open the template in Microsoft Excel.

5. Edit the template as desired.
For example, most templates have “Company” written at the top; you can replace this with your own company name. To edit text on an Excel document, double-click the text item, then delete the text item or replace it with your own.

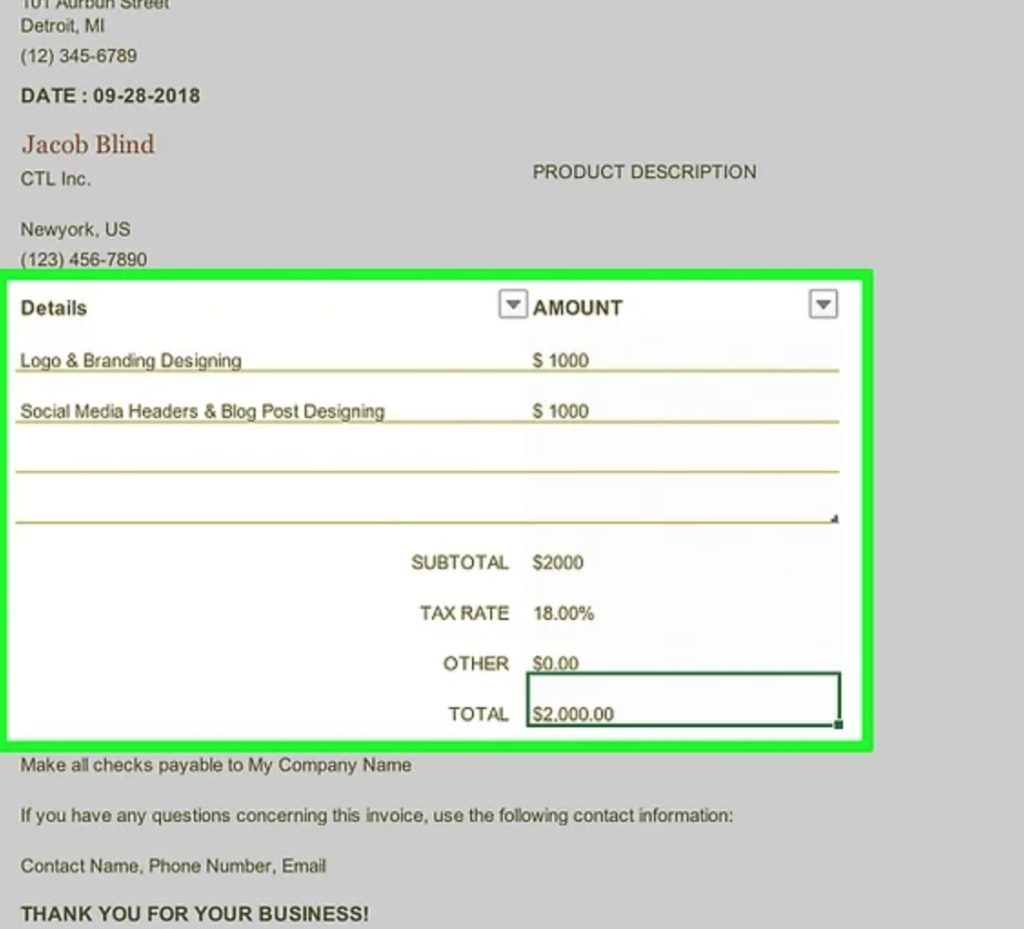
6. Fill out the invoice.
Enter any information requested by the invoice template to ensure the total matches what you owe.
For example, some invoice templates require you to enter an hourly rate or a flat fee.
Most invoice templates will use a formula in the “Total” box to calculate the hourly rate you enter and the number of hours worked.
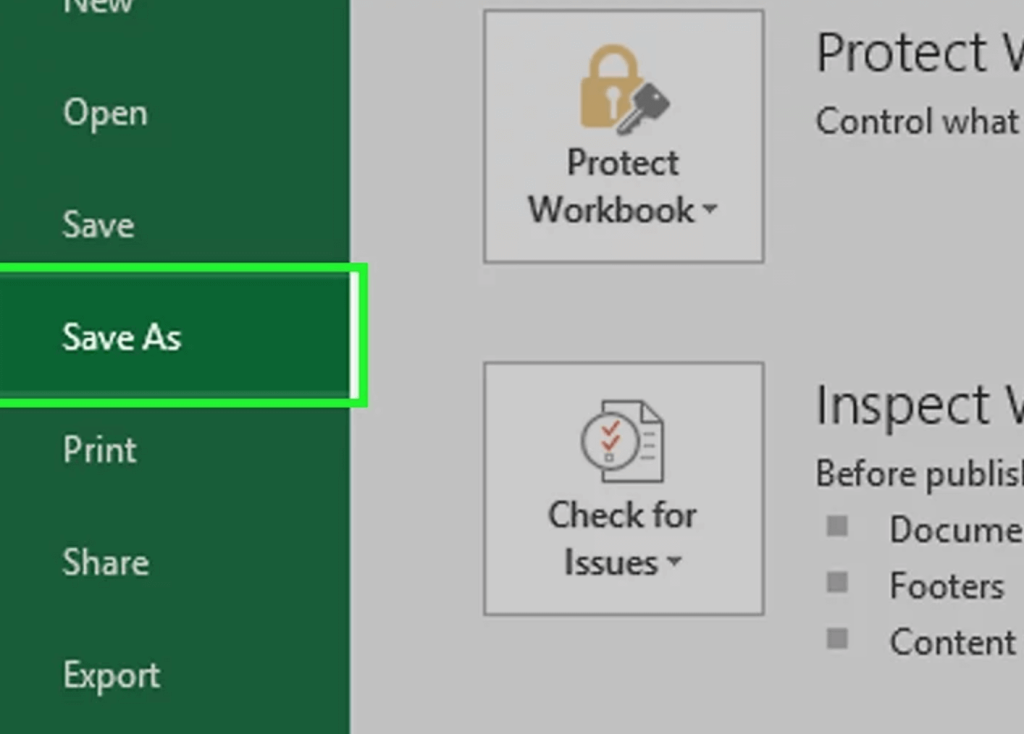
7. Save the invoice.
Click File in the upper left corner of the page, click Save As, double-click the save location, enter the name of the invoice, and click Save. This will save the custom invoice in the save location you selected. This way the invoice is ready.
Method 2
B. Using Templates on Mac
1. Open Microsoft Excel.
It’s a green box with a white “X” on it. Excel will open.

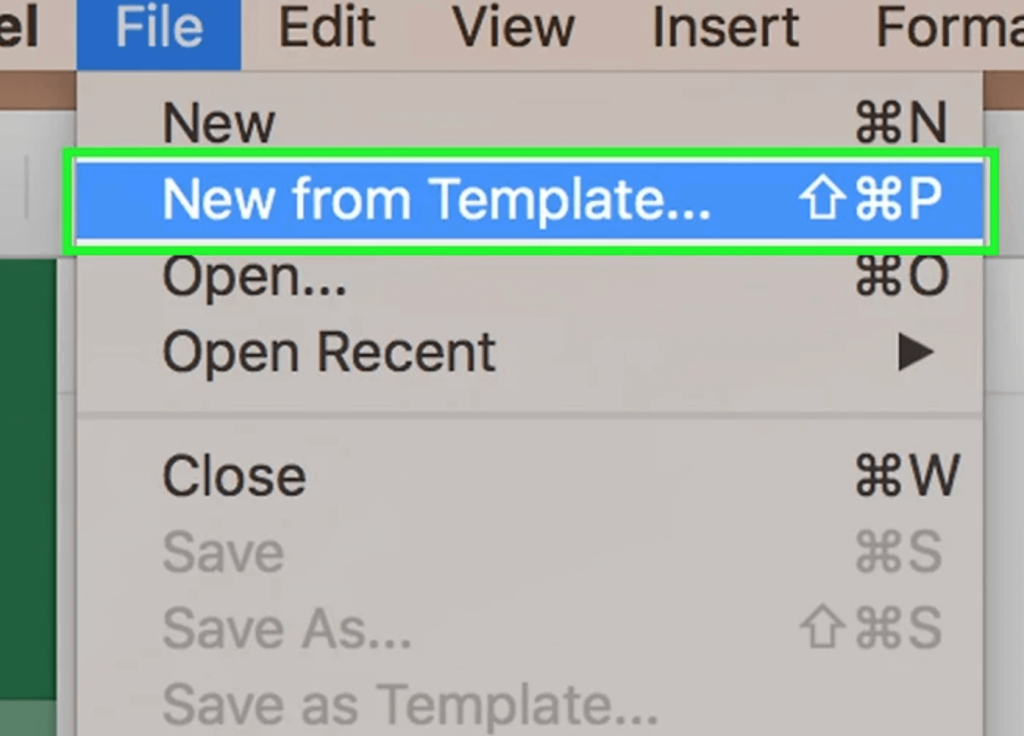
2. Click on the file.
This menu item is located in the upper left corner of the page. A drop-down menu will appear below it.

3. Click New from Template.
It’s an option in the File drop-down menu. This will open a new page with template options.
4. Search for invoice templates.
Type invoices into the search bar at the top right of the page and press return.

You must be connected to the Internet to search templates.
5. Select a template.
Click a template to open a preview window displaying the template.
6. Click Open.
It’s in the preview window. This will open the invoice template as a new document.

7. Edit the template as desired.
For example, most templates have “Company” written at the top; you can replace this with your own company name.
To edit text on an Excel document, double-click the text item, then delete the text item or replace it with your own.

8. Fill out this invoice.
Enter any information requested by the invoice template to ensure the total matches what you owe.
For example, some invoice templates require you to enter an hourly rate or a flat fee.
Most invoice templates will use a formula in the “Total” box to calculate the hourly rate you enter and the number of hours worked.
9. Save the invoice.
Click the File menu item, click Save As, enter a name for the invoice, and click Save. This way the invoice is ready.

Method 3
C. Create an invoice manually
1. Open Microsoft Excel.
It’s a green box with a white “X” on it. The Microsoft Excel home page will open.

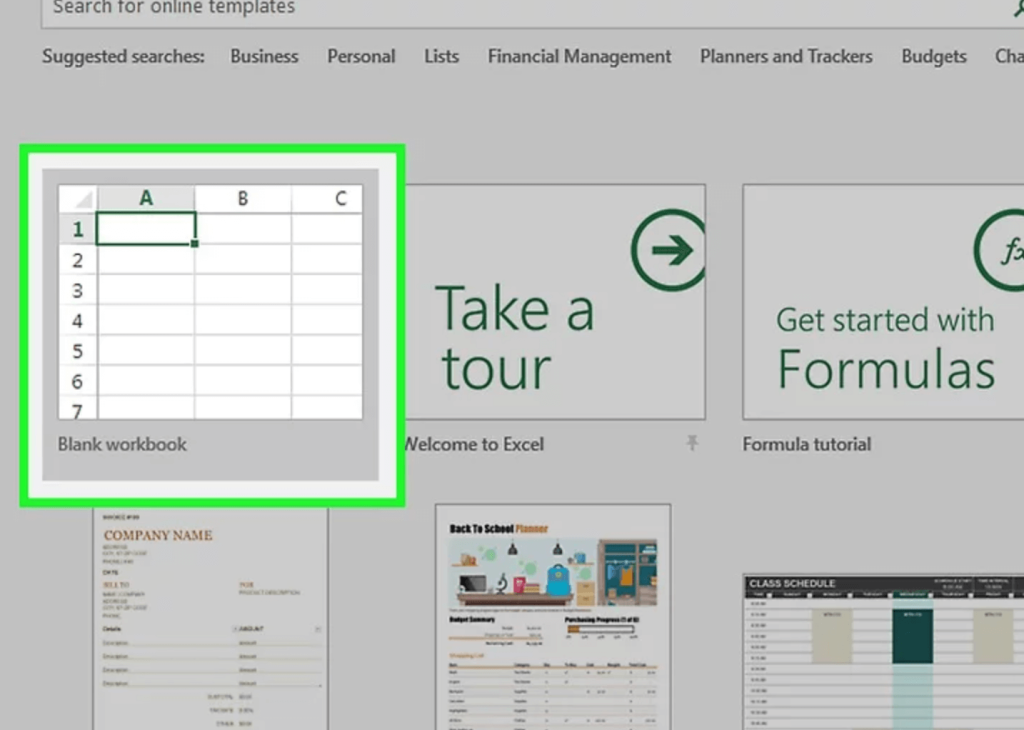
2. Click Empty Workbook.
This option is located in the upper left corner of the Excel home page. A blank spreadsheet will open.
On Mac, if Excel opens a blank document, skip this step.
3. Create an invoice header.
The header should include the following information:
Company Name—The company name of the recipient of the invoice amount payment.
Descriptors – the word “invoice” or a description of the type of invoice, such as “quote” (if you are quoting a customer for a service rather than sending a bill).
Date – The date you issued the invoice.
Number—The invoice number. You can use a global numbering system for all customers, numbering each customer individually. If you choose to number each customer individually, you can include the customer’s name or some other form of name in the invoice number, such as “Westwood1”.

4. Enter the seller and buyer addresses.
This information should be at the top of the invoice and your information should be above the customer information.
Your contact information should include your name, business address, phone number and email address.
Your customer information should include the company name, the name of the account payable, and the customer’s address. You can also include the customer’s phone and email address.

5. Enter billing information.
You can dedicate a column to briefly describe the product or service, a column to describe the quantity, a column to describe the unit price or rate, and a column to calculate the total price for the purchase of these quantities.

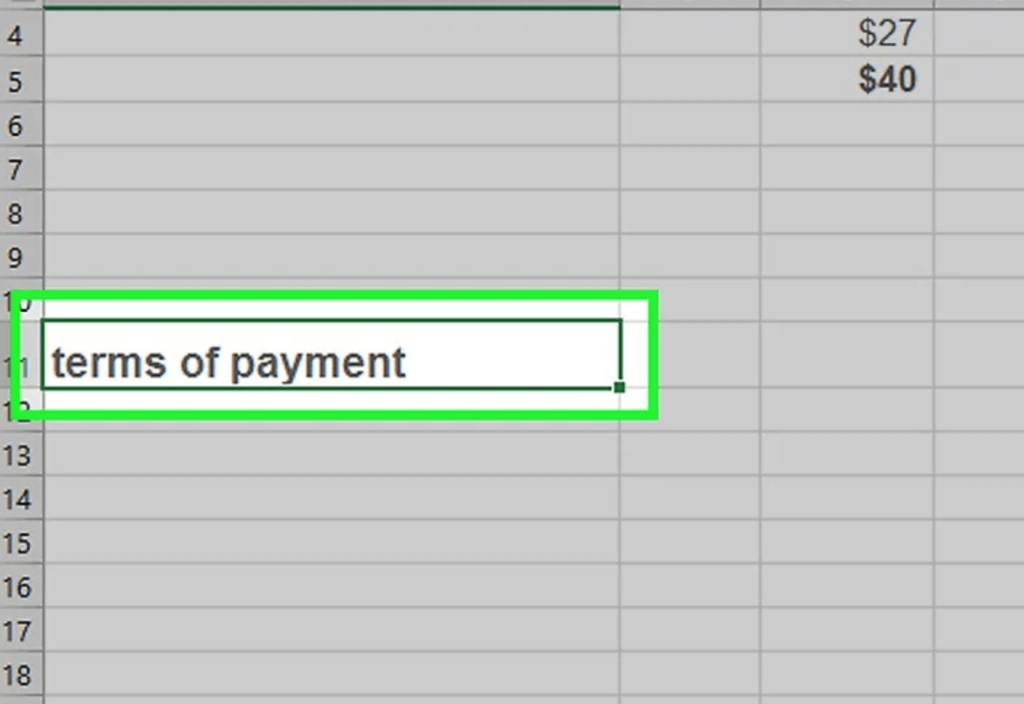
6. Displays the total bill.
It should appear below the column that calculates the individual expenses and can be generated with Excel’s “Sum” function.
Example: If you have workloads of $13 and $27 in cells B3 and B4, respectively, you can enter the format =SUM(B3,B4) in cell B5 to display $40 in that cell.
If you used an hourly rate (eg, $30) in cell B3 and hours in B4 (eg, 3), you would enter =SUM(B3*B4) in cell B5.

7. including the payment method.
Can appear above or below the billing information. Common payment methods are “payment received”, “payment within 14 days”, “payment within 30 days” or “payment within 60 days”.
You can also include a memo at the bottom of the invoice that includes accepted payment methods, general information, or a thank you to the customer who purchased with you.
8. Save the invoice.
If necessary, use a name that distinguishes the invoice from other invoices you send to customers. Save invoice operation steps:
Windows—Click File in the upper left corner of the page, click Save As, double-click a save location, enter a name for the invoice, and click Save.
Mac—Click the File menu item, click Save As, enter a name for the invoice, and click Save.
